

The Kauri Project Postcards
An Education and Art Project for Primary and Intermediate students.


The Kauri Project Postcard art project was initiated by Papakura Art Gallery and TKP prior to the exhibition “The Spine of the Land / Te Ua o Te Whenua (16 August – 27 September 2014).
Papakura Art Gallery and The Kauri Project inviting teachers and students to make postcard artworks to be exhibited in Papakura Art Gallery alongside the exhibition The Spine of the Land/Te Ua o Te Whenua. The postcards were photographed and returned to the schools after the exhibition. Students were encouraged to post them to someone, to share the message of respect for kauri and education about kauri dieback.
This project is designed to be delivered with the support of the Education resource Keep Kauri Standing! Kauri Dieback School Resource, which can be downloaded from www.kauridieback.co.nz
Why make a postcard artwork?
Visitors to New Zealand have been in awe of kauri and travelling to Northland to see them ever since people arrived in Aotearoa New Zealand.
Some of the very earliest European visitors to Aotearoa New Zealand used drawing to depict the amazing landscapes and native plants and animals they found and share these with people back in Europe. The development of postcards worldwide coincided with the increase in tourism (travelling for the purpose of experiencing another place) through the late 1800s. Photography at that time was still a very specialised skill requiring expensive technology, so for most people who wanted to keep or share images of the places they were visiting, a postcard was a cheap way to do this, as well as a cheap way of sending brief messages – the txt message of the time!
Kauri were one of the country’s natural ‘wonders’ people travelled to see. As the kauri forests were milled through the late 1800s and early 1900s, the last few very big examples, such as Tane Mahuta in Waipaoa Forest, became particularly sought out by both New Zealand and international travellers, and thus appeared more and more frequently on postcards.
Now hundreds of people visit Tane Mahuta and other kauri forest parks every day. It is easy now to take a photograph and share it with friends and family through email or photo-sharing websites, but postcards are still popular as a way of communicating a message and sharing a beautiful image. When we make them as works of art they become precious objects to be treasured.
(Image of logging postcard, image of tourists at Tane Mahuta)
Process
1. Research Kauri
Before you and your class make your postcard artwork, take time to explore the topic of kauri trees with the class. Use the Keep Kauri Standing! Kauri Dieback School Resource as a starting point for learning about kauri and kauri dieback. Find out what the kids already know. Some ideas for discussion topics:
Have you seen a kauri tree? Do you know what a kauri tree looks like?
Get the kids to look at pictures of kauri trees, including close ups of leaves, bark and cones. Take them to see real kauri trees if possible.Who is Tane Mahuta?
Talk about the story of Ranginui and Papatuanuku being parted by their son Tane Mahuta, and then about the tree Tane Mahuta in Waipaoa Forest and how lots of people visit this tree every day.What other plants and animals live with kauri?
Explore the idea of ecology – the interdependence of different species within the kauri forest.Does anyone live in a house made from kauri or have something made from kauri in their home?
Talk about the things kauri timber and kauri gum have been made into, and the history of milling the kauri forests.What does kauri mean to you?
Depending on the age of your students you might want to discuss ideas of value – what makes kauri precious? It might be many things – cultural value, tourism, scientific.Kauri in the news.
You might like to get students to look out for news items about kauri dieback, swamp kauri, forest conservation, etc.
2. Look at Art
Look with your students at examples of different artists, especially those who represent kauri and other native species of plants and animals in their work. For example:
Colin McCahon. One of New Zealand’s most important painters, who lived with his family among the kauri forest in Titirangi during the 1950s. Images of Colin McCahon’s paintings of kauri can be found in the Keep Kauri Standing! Kauri Dieback Schools Resource and online: www.mccahon.co.nz
Charles Heaphy was a watercolour artist and surveyor who came to New Zealand in the 1840s. His drawings and paintings of kauri forest are some of the few images that give an idea of what the original kauri forests look like. Biography and some images can be found in Te Ara Encylopedia of New Zealand: www.teara.govt.nz. Images of Heaphy’s kauri forest paintings can be found by searching ‘Charles Heaphy Kauri’ on the website for the National Library: www.natlib.govt.nz
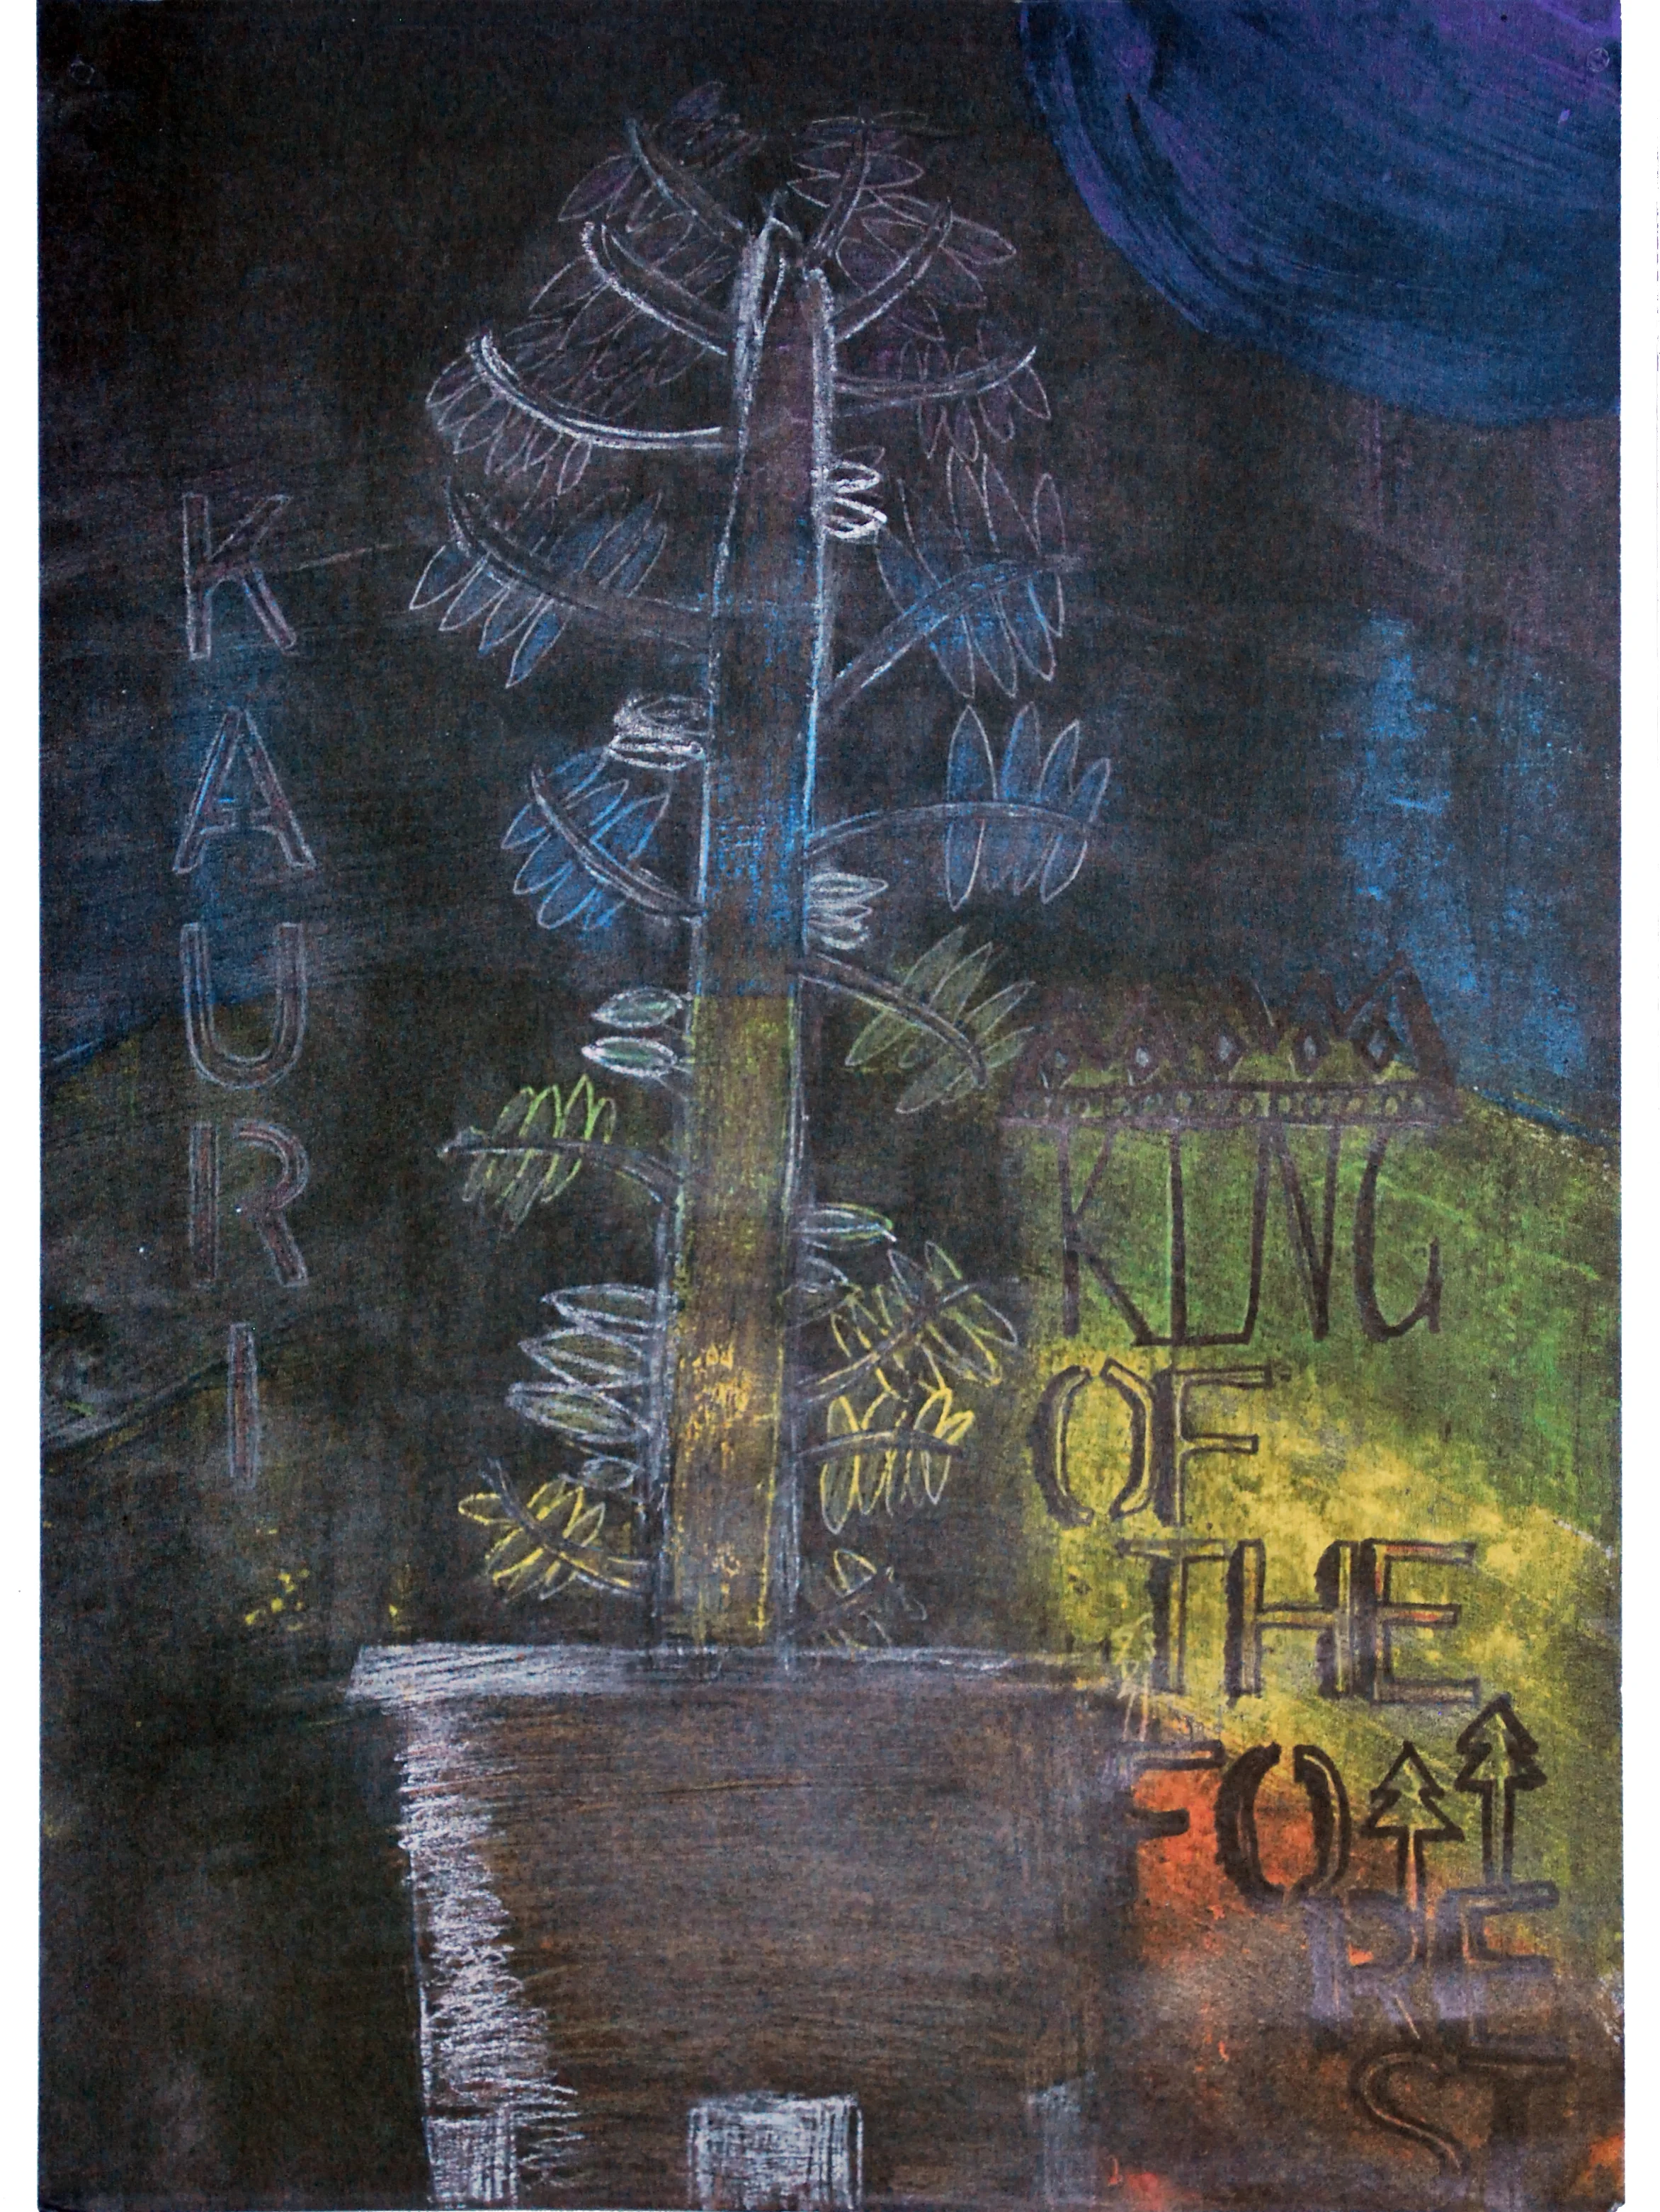
The Kauri Project Posters. Five Auckland artists made special designs about kauri for our poster series. Charlotte Graham, Philip Kelly, Tessa Laird, Natalie Robertson and Haruhiko Sameshima have each used different styles and media in their work, including photography, digital design, drawing and painting.
You might also like to look at examples of postcards as well, both old and new. Most commercial postcards now are colour photographs, but the earliest postcards were drawings turned into prints, and many early photographs were retouched by hand-painting to add colour or details. A useful website for early New Zealand postcards is: www.elibrarynz.com/BLOG/e-librarynz-ARTICLES-INDEX-01.html
3. Make your own Postcard Works
Plan your image.
When you are ready to create your postcards encourage your students to talk about what they would like to communicate with their artwork. You might choose a theme as a class or each do very individual designs and topics. Students might choose for their postcard artwork to be purely an image, or use text as well and make it a call for action to protect kauri. It might be about a specific aspect of the kauri biology, or even another species that is linked to kauri by habitat or life-cycle. It might even be abstract. You might also want to encourage students to plan their artwork and try out new media and techniques in a preparatory drawing.
Choose your materials.
Depending on the resources available and the age/skill level of your students, you could use drawing, paints, collage, print-making or photography. Once again you could choose one medium for the whole class or encourage them to be quite individual. Anything goes!
Be creative and have fun with making your postcard artworks!
Once they are finished, make sure the artist’s name and school are on the back. If they have a title for their work, write that on the back too.